
Raising your own chicks is a wonderful adventure, provided you give them the right conditions from the start. Here is our method, proven on our farm, for a successful start.
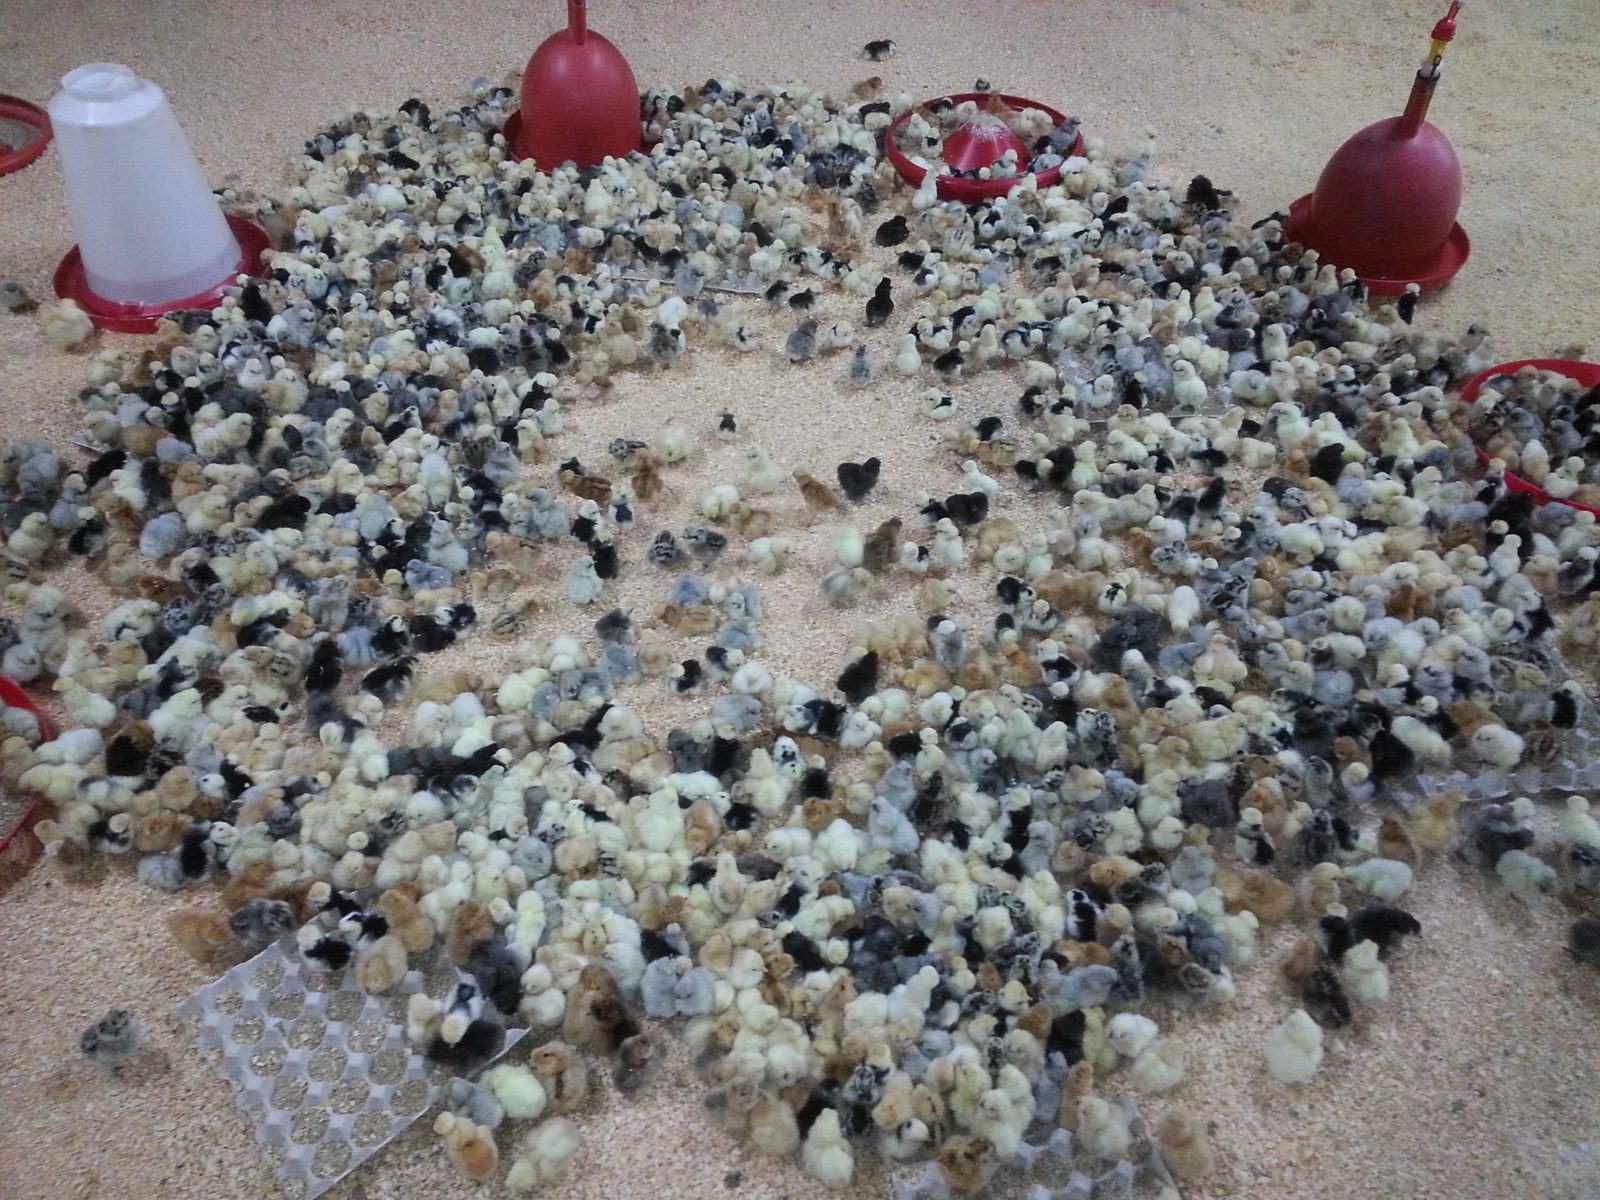
Preparing the space
First, prepare a place to welcome them: dry, sheltered from draughts, with a water point and a feed point.
Water
Water can be offered in any container; simply make sure the chicks cannot drown in it and that the container cannot tip over. The most practical is to start with a siphon drinker of 5 litres or less. With the heat, water warms up quickly: change it at least once a day the first week.
Feed
Feed can be placed in a suitable feeder, or directly on paper or cardboard trays the first few days. Using a chick starter feed is strongly advised.
Litter
Litter can be simple at the start: newspaper works very well, otherwise chopped straw. The best solution remains wood shavings, which absorb humidity very well and make cleaning easier.
Heating
A heat source is compulsory. The simplest and most effective is the infrared bulb heat lamp; there are also heat plates and start boxes that optimise rearing conditions.
Start heating a few hours before the chicks arrive, with a floor temperature under the lamp of 37-38 °C. But it is above all the chicks' behaviour that should guide you:
- they huddle under the lamp → they are too cold;
- they press against the walls → they are too hot;
- they are evenly spread out → the temperature is right.
Take into account the difference in room temperature between day and night. The goal is an even distribution of the chicks in the pen. Be careful not to overheat them: it is a classic start-up mistake. Without experience of the equipment used, readjust the lamp height or the thermostat very regularly, according to the chicks' behaviour.
The start pen
The ideal start pen has closed sides (or mesh if you are sure there are no draughts), about 50 cm high, with two zones: a heated zone and an unheated one. Place the water in the unheated zone and the feed in the warm zone.
| Parameter | Elsanor benchmark |
|---|---|
| Floor temperature under lamp (arrival) | 37-38 °C, then adjusted to behaviour |
| Heating to prepare | A few hours before arrival |
| Reading the chicks | Huddled = too cold · At the walls = too hot · Spread out = ideal |
| Drinker | Siphon ≤ 5 L, water changed ≥ 1×/day the 1st week |
| Feed | Chick starter (feeder, paper or trays at first) |
| Litter | Shavings (ideal) · chopped straw · newspaper |
| Pen | Closed sides, ~50 cm, 2 zones (warm / unheated) |
| Outdoor access | Not before 3-4 weeks, weather permitting |
| Mixing with other poultry | Wait 8 weeks, staying watchful |
Hygiene
Remember to properly disinfect the place where the chicks will be kept and to prevent other poultry from approaching. If possible, wash your hands and change shoes if you have just tended to other birds.
If the chicks do not eat or drink, several causes are possible:
- lack or excess of heat, and/or draughts;
- difficulty of access and/or quality of the water or feed;
- sanitary pressure: poor disinfection of the premises, direct or indirect contact with other birds.
First outings
In time, you can give the chicks outdoor access: avoid it, however, before 3-4 weeks of age, and only if the weather allows. To mix them with your other poultry, a 8-week wait is needed, while staying watchful the first few days.
Further reading: Storing and pre-warming eggs · Welcoming new hens · Our laying statistics
Cyril Névot — Elsanor farm